

Introduction:
Hello! Recently, I worked on a project to make handling applications easier using something called containerization. I want to share the journey and explain the process in simple terms. Let's dive in!
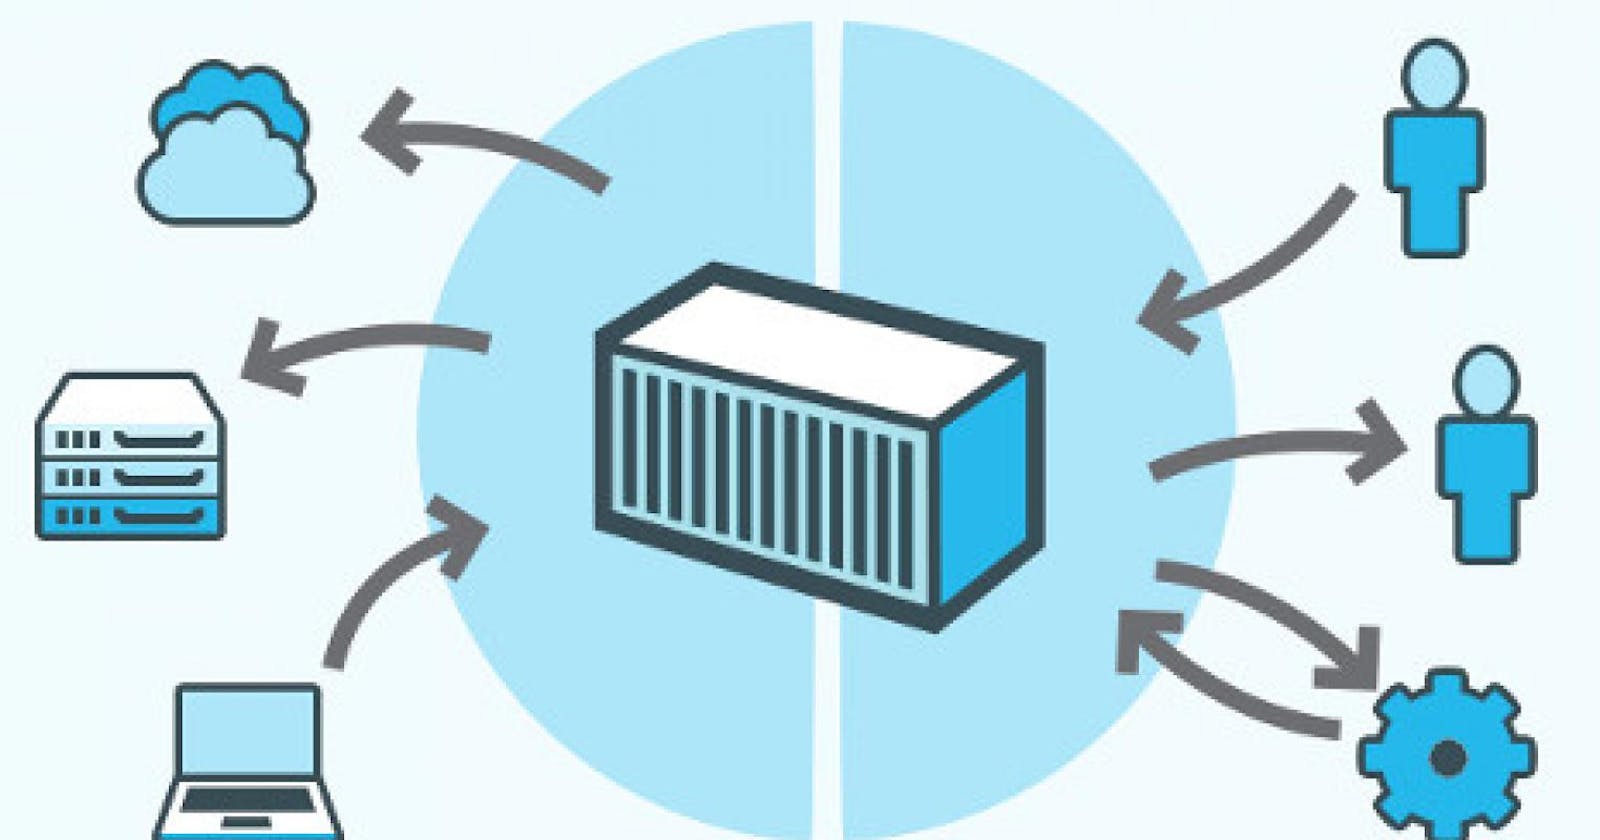
Why Containerization?
Imagine this: You have a cool application, but it's costing a lot, and making changes feels risky. Sound familiar? That's where containerization helps.
Containers are like straightforward boxes for your applications. They don't need a whole operating system, so they use fewer resources. And guess what? That means saving money!
Real Talk and Numbers:
Before we go further, here are some stats. Turns out, lots of companies are already using containerization. About 50% of them have put half of their applications in these containers. And get this – 29% are using them for real production. It's like the popular trend in the tech world.
Tools I Used:
Now, let's talk tools. I used Docker, the superhero of containerization. Alongside Docker, I had Docker Compose and Docker Hub as helpful sidekicks, making my project much easier.
Containerizing VProfile Project:
The Web Container:
Starting with the web component, I used Nginx as the foundation. The Dockerfile removes the default configuration and adds my custom one, setting the stage for a seamless web experience. This container acts as the face of the project, exposing the web app to the world.
FROM nginx
LABEL "Project"="Vprofile"
LABEL "Author"="Abdul"

RUN rm -rf /etc/nginx/conf.d/default.conf

COPY nginvproapp.conf /etc/nginx/conf.d/vproapp.conf
The Database Container:
Moving on to the database container, which runs on MySQL. The Dockerfile takes care of setting up the environment, including defining the root password and creating the 'accounts' database. To start things off with some data, I included an SQL backup during the initialization process.
FROM mysql:8.0.33
LABEL "Project"="Vprofile"
LABEL "Author"="Abdul"

ENV MYSQL_ROOT_PASSWORD="vprodbpass"
ENV MYSQL_DATABASE="accounts"

ADD db_backup.sql docker-entrypoint-initdb.d/db_backup.sql
The App Container:
Now, let's talk about the app container. I approached this in two steps. First, I used an OpenJDK image to build the application. I installed Maven and Git, cloned the VProfile project, and got everything ready. After that, I moved the war file to a Tomcat image, creating a streamlined container all set to serve the web app.
FROM openjdk:11 AS BUILD_IMAGE
RUN apt update && apt install maven -y
RUN git clone https://github.com/devopshydclub/vprofile-project.git
RUN cd vprofile-project && git checkout docker && mvn install

FROM tomcat:9-jre11
LABEL "Project"="Vprofile"
LABEL "Author"="Abdul"
RUN rm -rf /usr/local/tomcat/webapps/*
COPY --from=BUILD_IMAGE vprofile-project/target/vprofile-v2.war /usr/local/tomcat/webapps/ROOT.war

EXPOSE 8080
CMD ["catalina.sh","run"]
Docker Compose:
Now, let's connect all the dots with Docker Compose. This tool orchestrates containers for the database, caching, web, and app components, making deployment a breeze. I also set up volumes for persistent data and specified ports for easy access. It's like the project conductor ensuring everything plays in harmony.
version: "3.8"
services:
  vprodb:
    build:
      context: ./Docker-files/db
    image: immortalabdul/vprofile-db
    container_name: vprodb
    ports:
      - "3306:3306"
    volumes:
      - vprodbdata:/var/lib/mysql
    environment:
      - MYSQL_ROOT_PASSWORD=vprodbpass

  vprocache01:
    image: memcached
    ports:
      - "11211:11211"

  vpromq01:
    image: rabbitmq
    ports:
      - "15672:15672"
    environment:
      - RABBITMQ_DEFAULT_USER=guest
      - RABBITMQ_DEFAULT_PASS=guest

  vproapp:
    build:
      context: ./Docker-files/app
    image: immortalabdul/vprofile-app
    container_name: vproapp
    ports:
      - "8080:8080"
    volumes:
      - vproappdata:/usr/local/tomcat/webapps

  vproweb:
    build:
      context: ./Docker-files/web
    image: immortalabdul/vprofile-web
    container_name: vproweb
    ports:
      - "80:80"
    volumes:
      - vproappdata:/usr/local/tomcat/webapps

volumes:
  vprodbdata: {}
  vproappdata: {}
Once the Dockerfiles and Docker Compose configuration were in place, the practical implementation phase began. To ensure a controlled environment for testing, I opted for a Virtual Machine (VM) using Vagrant, selecting Ubuntu as the OS. Inside this VM, the Docker Engine needed to be installed to facilitate the containerization process.
Setting Up the Virtual Machine:
Installing Docker Engine:
- The first step was updating the system and installing Docker on the Ubuntu VM.
sudo apt update
sudo apt install docker.io
Building Docker Images:
- With Docker Engine ready, the next move was to use the
docker-compose buildcommand in the directory housing thedocker-compose.yamlfile. This command initiated the creation of Docker images based on the defined configurations.
- With Docker Engine ready, the next move was to use the
docker-compose build
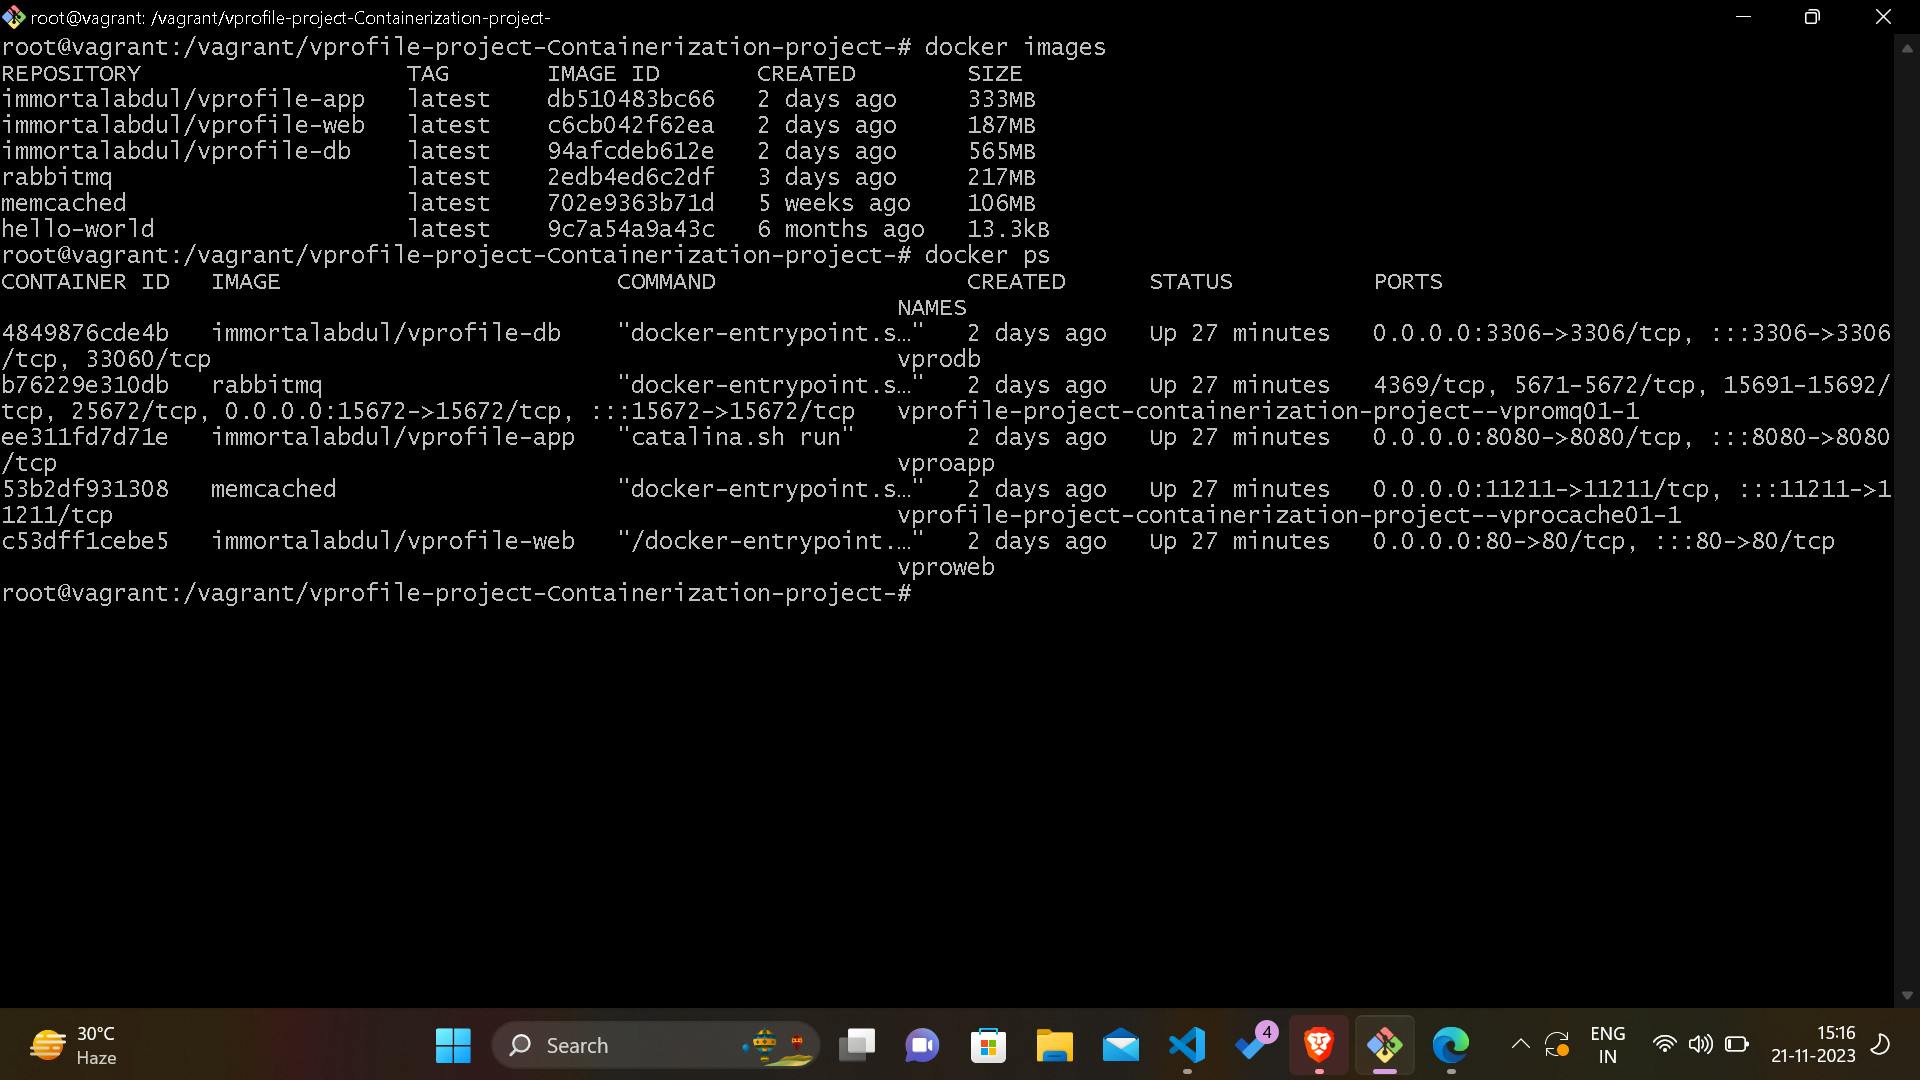
Checking Created Containers:
- A quick verification of the created containers was done using the
docker pscommand.
- A quick verification of the created containers was done using the
docker ps
Bringing Up Containers:
- The containers were brought to life by executing
docker-compose up -d, allowing each one to assume its designated role within the setup.
- The containers were brought to life by executing
docker-compose up -d
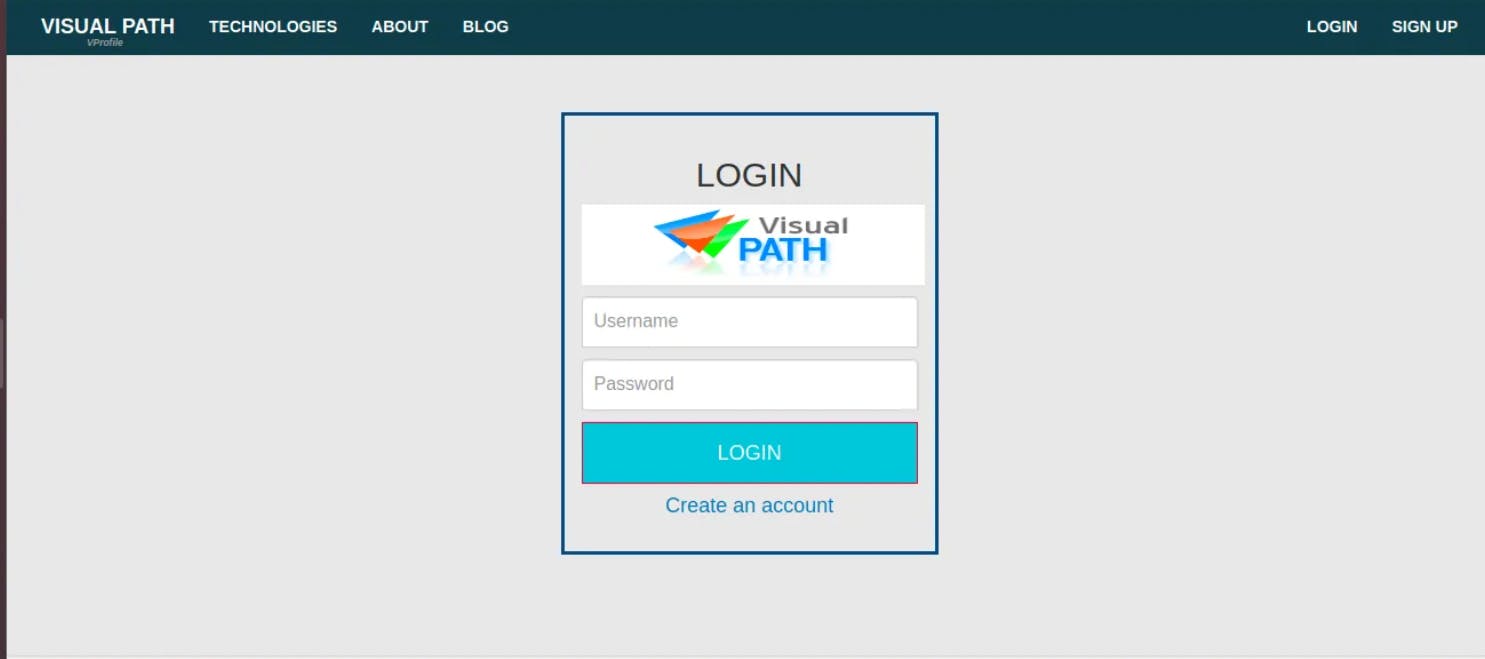
Accessing the App:
- To ensure everything was working as expected, I determined the VM's IP address using
ip addr showand accessed the application through the browser.
- To ensure everything was working as expected, I determined the VM's IP address using
Pushing to Docker Hub:
Pushing Images to Docker Hub:
- With the containers successfully running, it was time to share them on Docker Hub. Logging into Docker Hub using
docker loginand pushing the images to the public repository ensured accessibility for others.
- With the containers successfully running, it was time to share them on Docker Hub. Logging into Docker Hub using
docker login
docker push immortalabdul/vprofile-app
docker push immortalabdul/vprofile-db
docker push immortalabdul/vprofile-web
- The public Docker Hub repository is accessible here.
Cleanup:
Bringing Down Containers:
- Once testing was complete, the containers were gracefully stopped using
docker-compose down.
- Once testing was complete, the containers were gracefully stopped using
docker-compose down
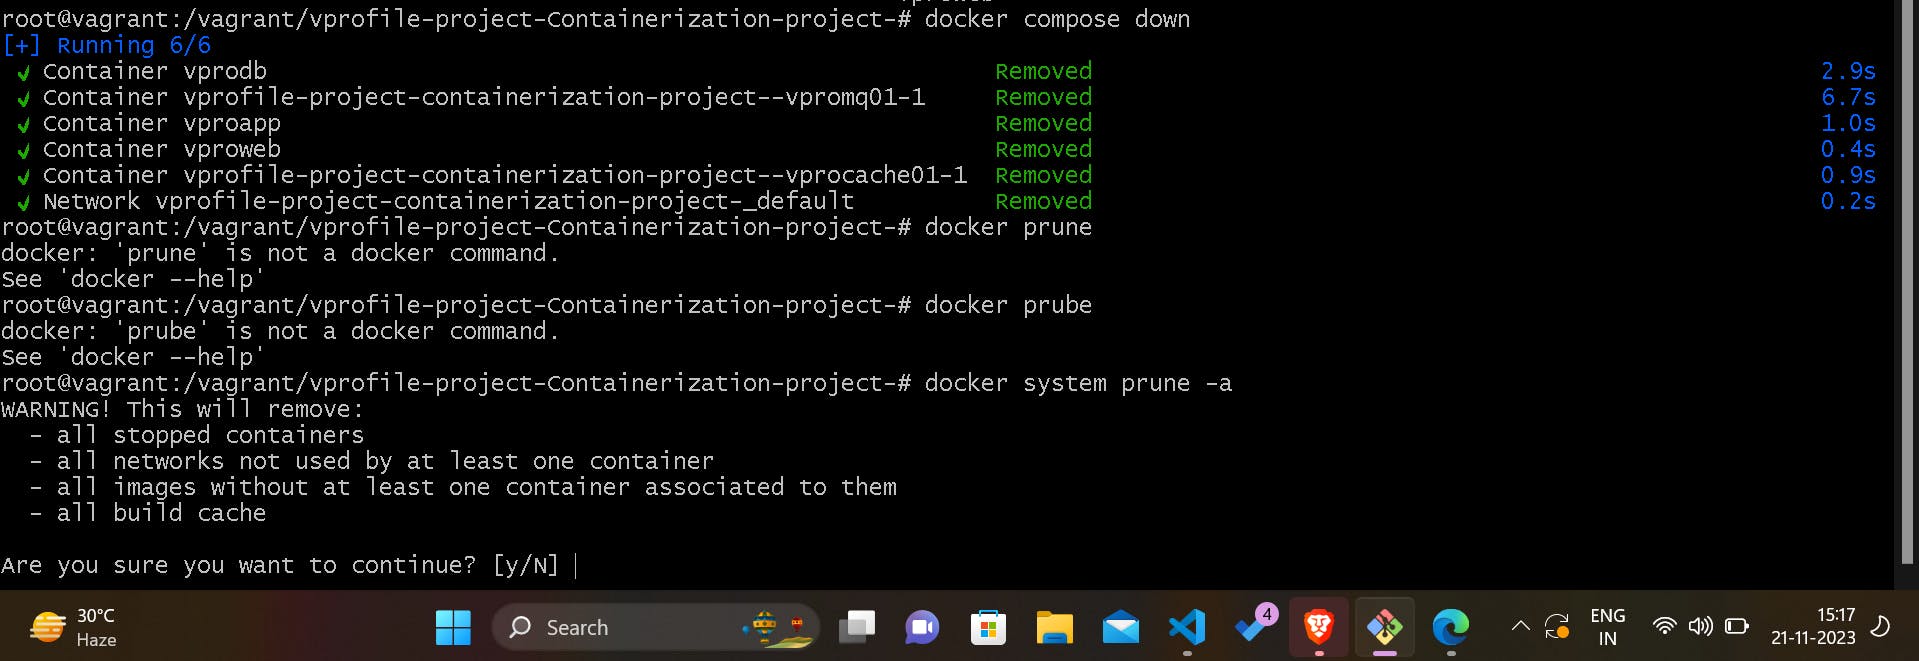
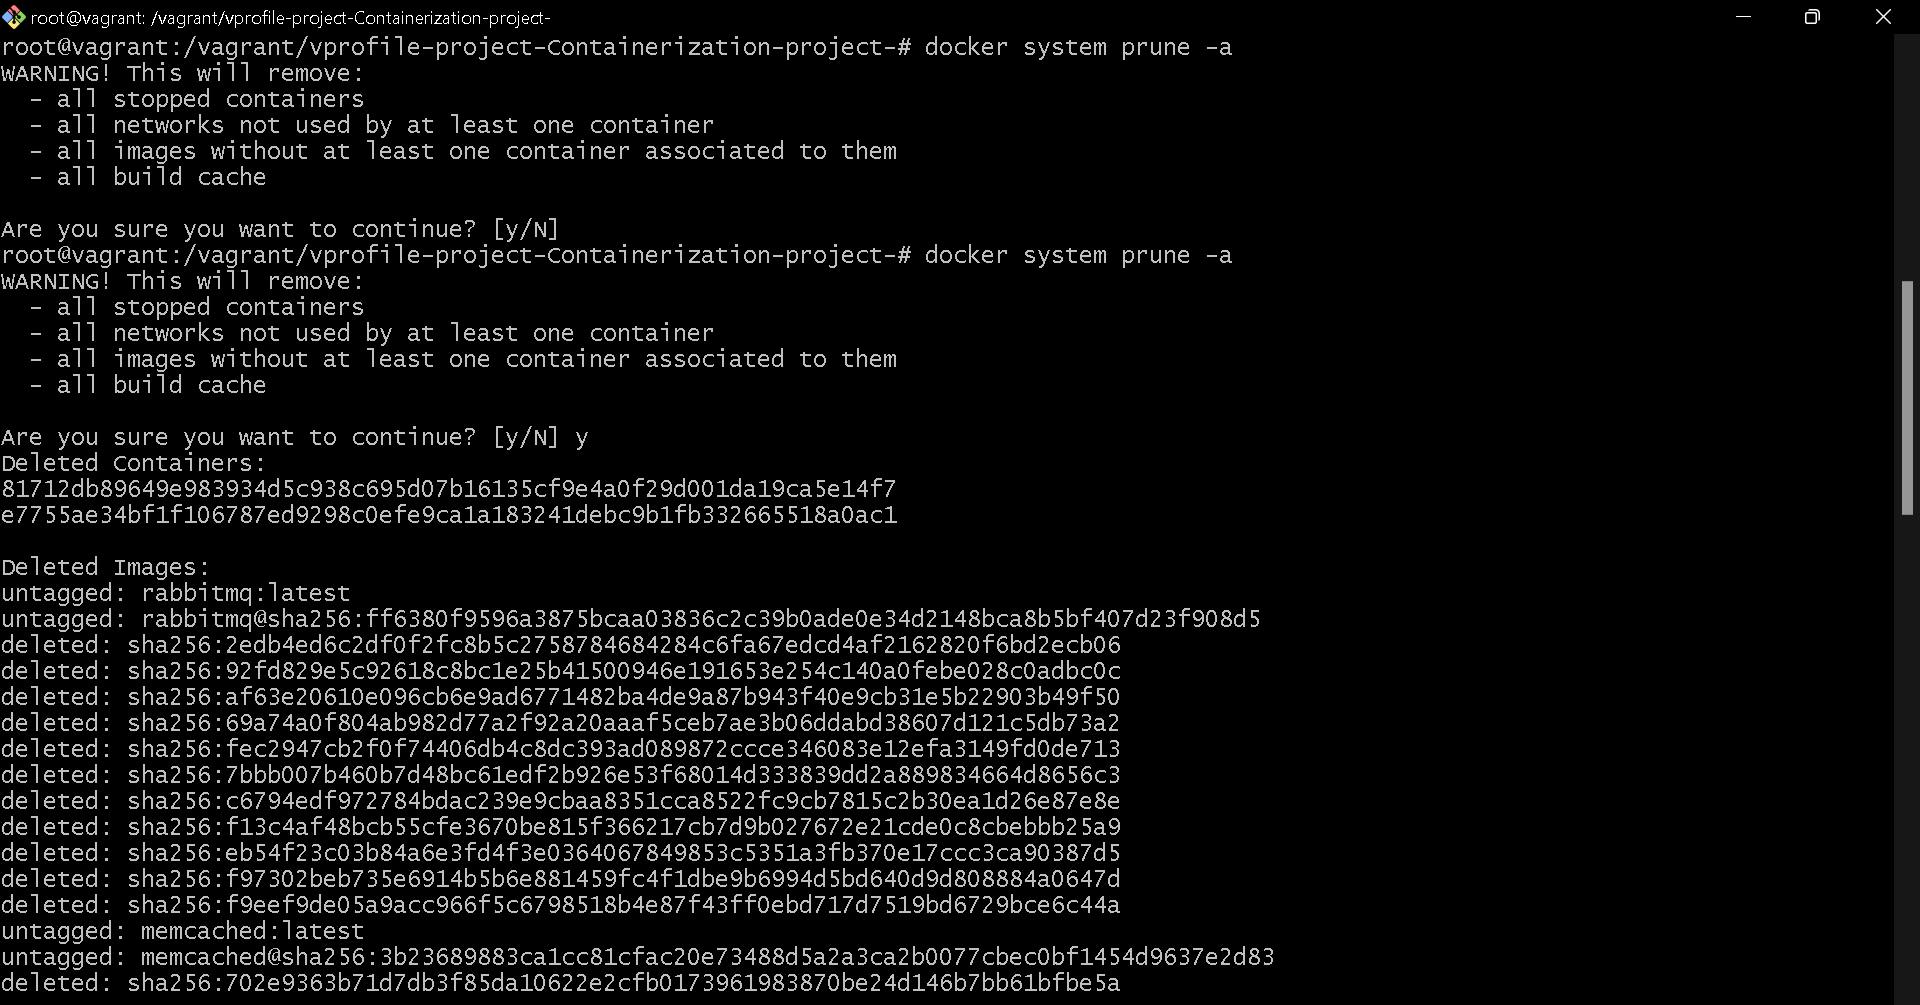
Cleaning Up Docker System:
- For a pristine environment, the
docker system prune -acommand was executed to remove any non-running containers.
- For a pristine environment, the
docker system prune -a
Wrapping Up:
In conclusion, from setting up the VM to pushing containers and performing post-testing cleanup, every step was executed with precision. The complete project details are available on GitHub here. For a comprehensive experience, be sure to switch to the 'containers' branch.